Como fazer um fork da Skatehive 🛹
Faremos este tutorial para qualquer pessoa que queira criar sua própria comunidade com a tecnologia da skatehive, como https://skatehive.app
Você precisará instalar algumas coisas em sua máquina para preparar seu computador para o desenvolvimento do fork.
O código ainda está um pouco confuso, mas convido você a fazer parte do nosso aprendizado. Este documento será sempre atualizado em: https://docs.skatehive.app
Index
- Instale o Git e configure a conta do Github
- Configure suas keys SSH do Github
- Fork o repositorio
- Clone/Download o repositorio
- Faça o Dowload e instale o Node.js
- Instale o pnpm
- Instale as dependencias com o comando
pnpm - Mude as variaveis .env
- Execute com o comando
pnpm dev - Fiz algumas modificações apenas por diversão
- Envie suas alterações para o github
- Coloque seu fork online, faça deploy com o vercel
Instale o Git e configure a conta do Github
Baixe e instale o Git em sua máquina local. Isso permitirá que você execute comandos git em seu terminal, como git clone e outros comandos
Download Git Learn More about git and its instalation
Crie sua conta no GitHub
Basta se inscrever
Configure suas chaves (Keys) SSH do Github
Para tornar o processo mais tranquilo, vamos configurar uma conexão SSH gerando chaves SSH.
Abra seu terminal
Digite o seguinte comando
use o mesmo e-mail que você usou para criar a conta no github
ssh-keygen -t ed25519 -C "your_email@example.com"
Isso cria uma nova chave SSH, usando o e-mail fornecido como rótulo.
- Inicie o agente ssh em segundo plano
eval "$(ssh-agent -s)"
- Copie o conteúdo do arquivo id_ed25519.pub para sua área de transferência
Para usuarios do Mac:
pbcopy < ~/.ssh/id_ed25519.pubPara usuarios do Windows:
clip < ~/.ssh/id_ed25519.pub
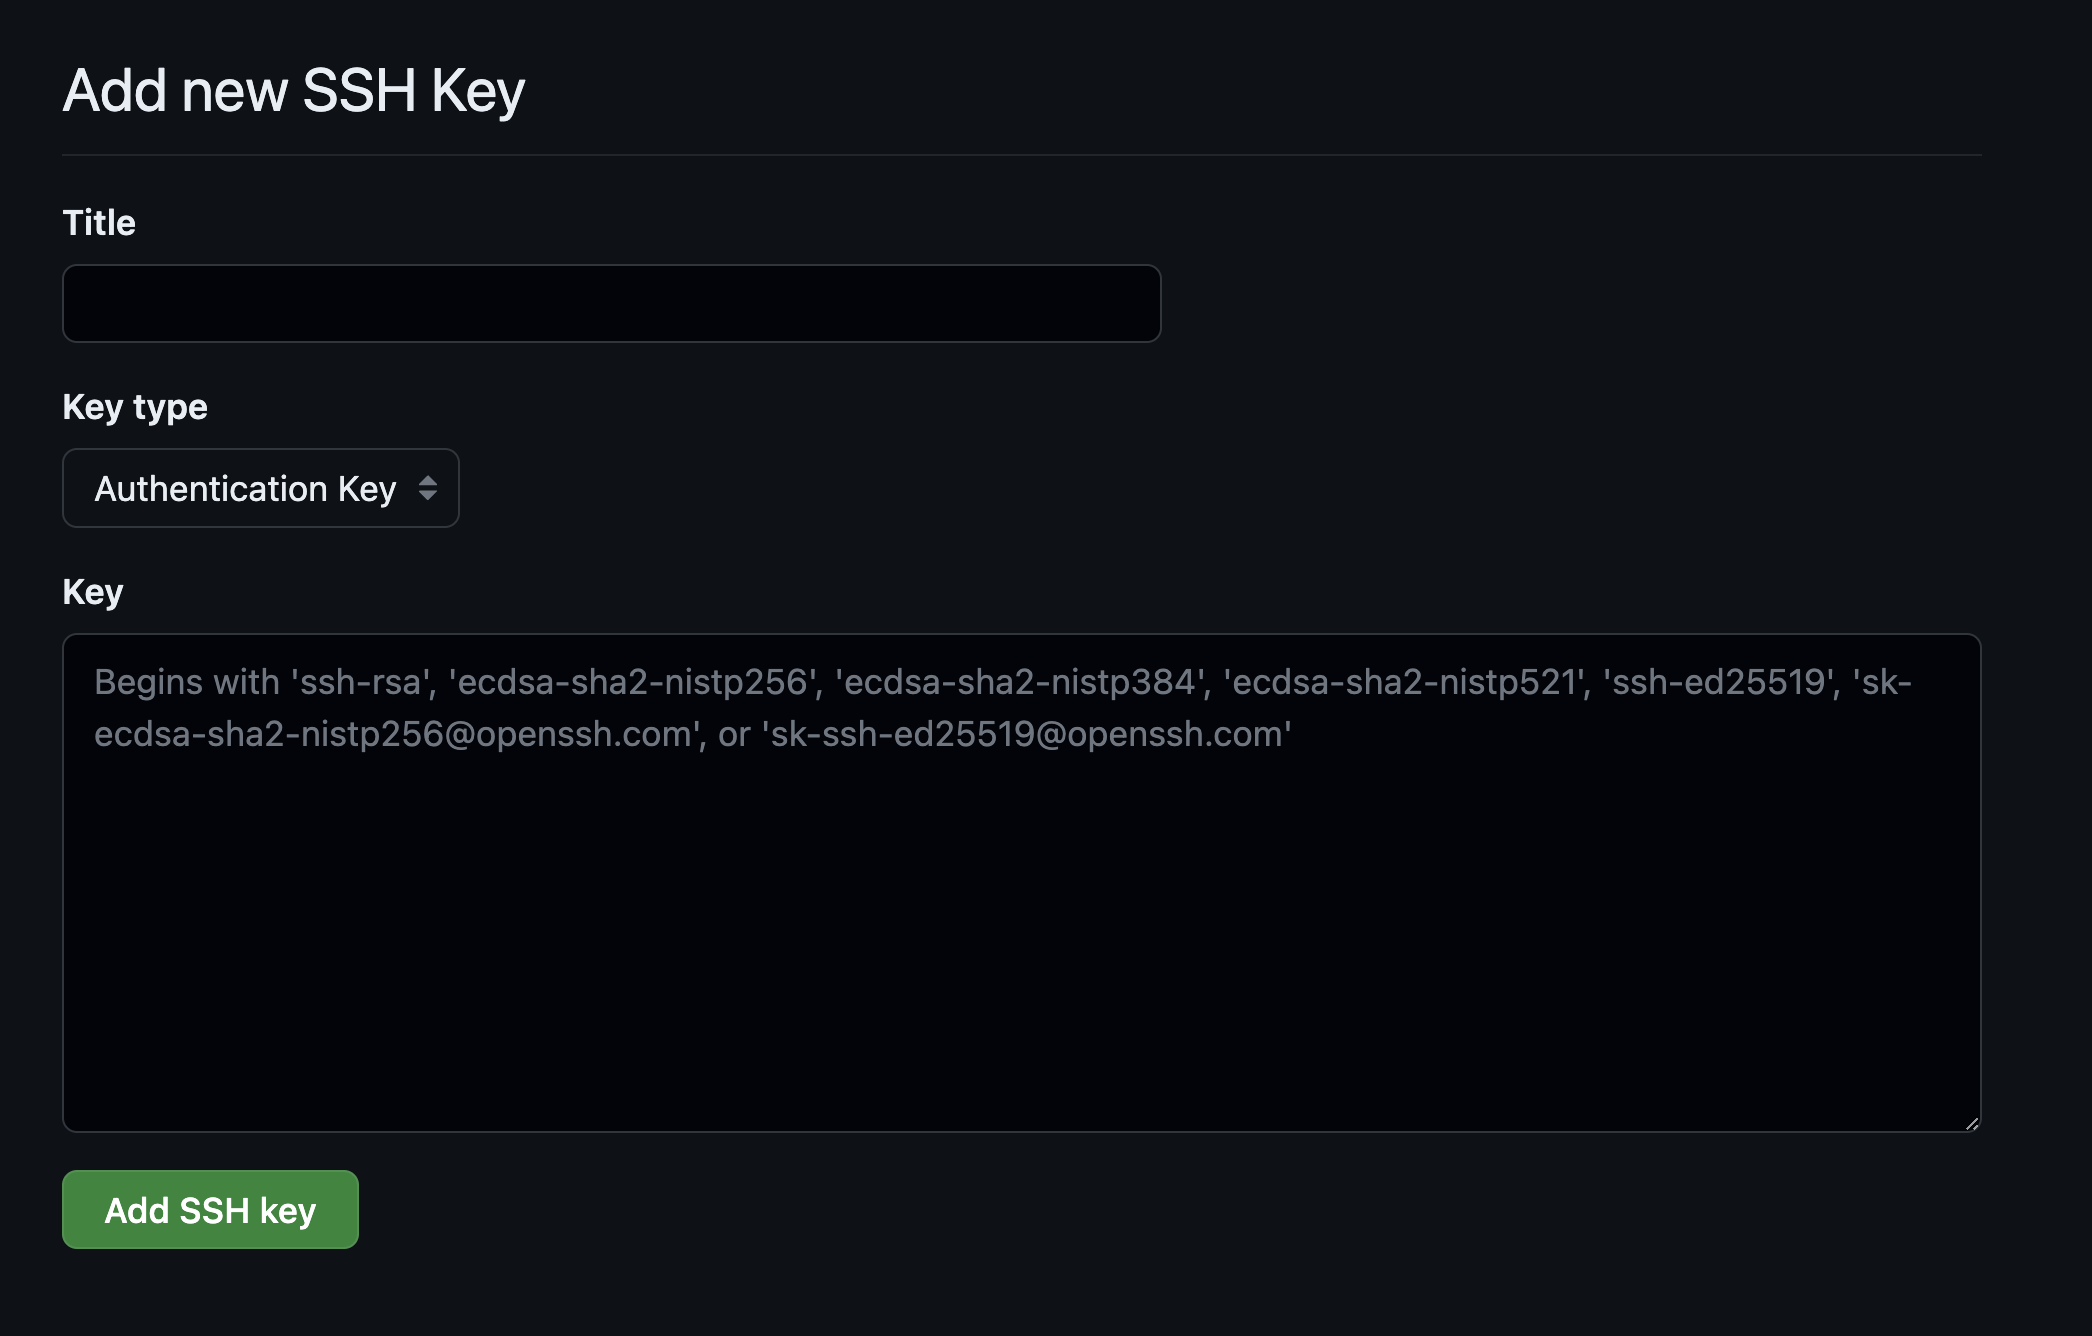
Dê um título e cole o conteúdo em Key
Fork o repositorio

Isso criará sua própria versão do repositório em sua conta:
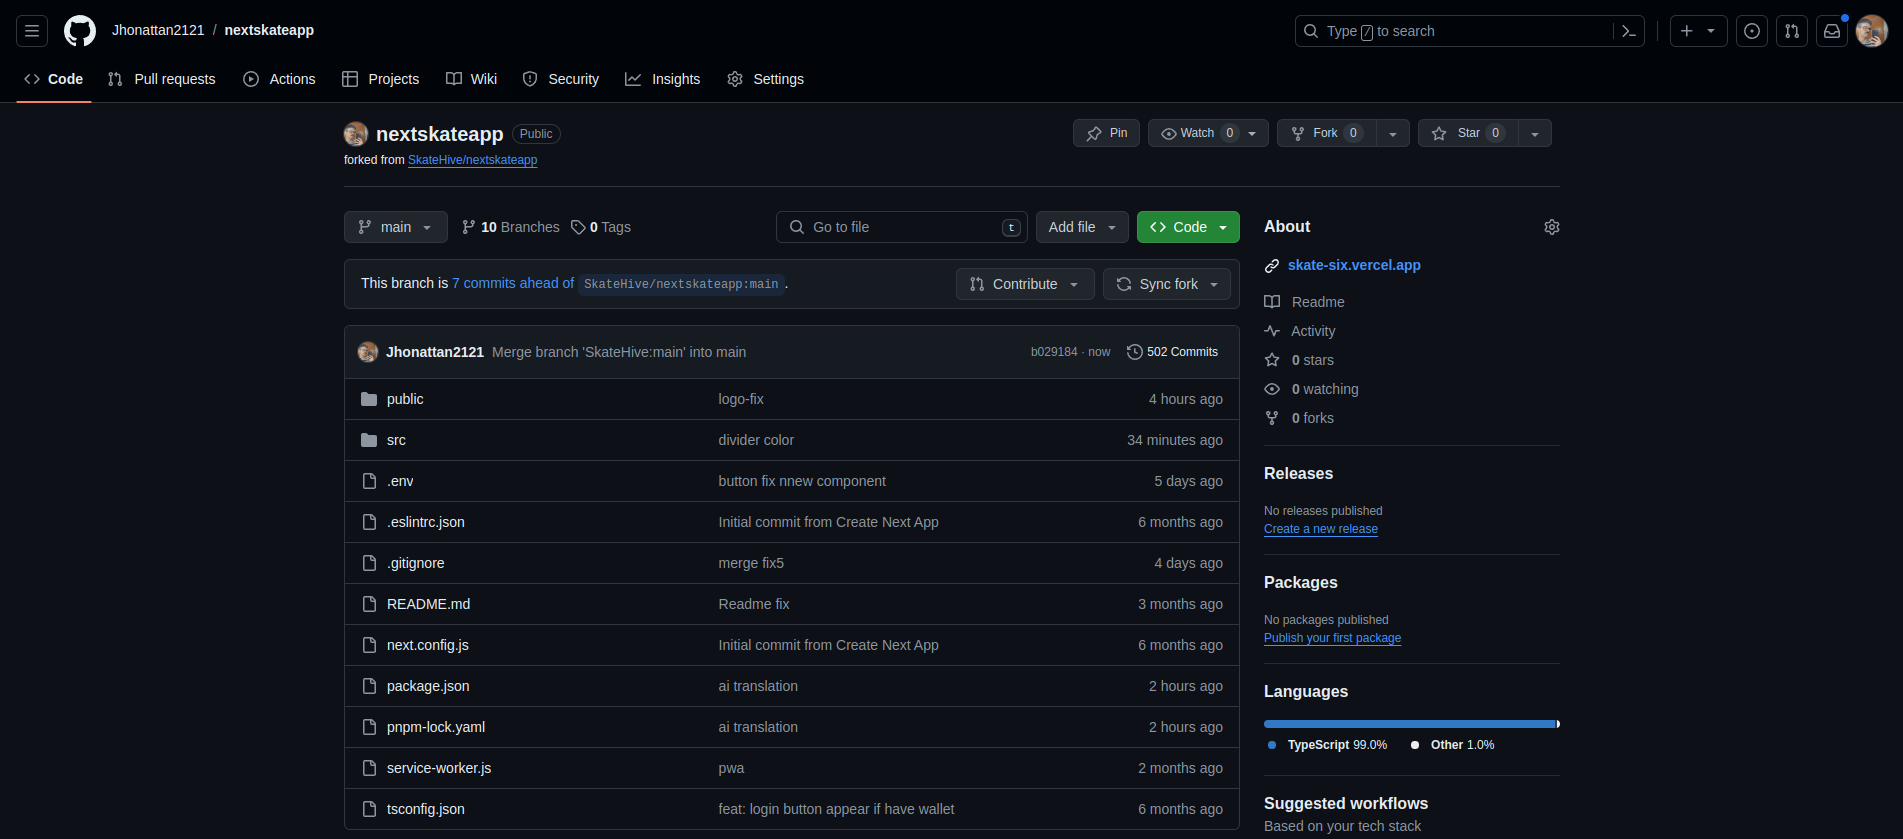
Pronto, agora você vai clonar o repositório de arquivos na sua máquina, que é basicamente baixar o app:
git clone git@github.com:<your-username>/<your-fork>.git

Agora navegue até o repositório clonado por:
cd <your-fork>
Nesse caso,
cd skateapp
Para a próxima etapa precisaremos instalar mais alguns programas em seu computador para completar seu ambiente e finalmente instalar e executar o aplicativo.
Download and install Node.Js
Nada sofisticado aqui, basta instalar e deixar o
add to pathmarcado.
Install Yarn Here
Se você possui Nodejs, npm, yarn e weed/coffee agora você pode instalar e executá-lo em seu computado.
Voltando ao terminal...
Na pasta do repositório
yarn
Nota: Este comando instalará automaticamente todos os pacotes JavaScript e dependências necessários para o seu projeto, conforme especificado no arquivo package.json. O Yarn irá baixar e configurar tudo o que for necessário para executar a Skatehive. Esta etapa garante que você tenha todas as bibliotecas e ferramentas necessárias em seu computador para construir e executar o aplicativo.
 Espere um pouco, tome um "café"...
Você deverá ver isso quando acabar:

Se você receber um erro em alguma etapa, você pode jogá-lo no chat-gpt ou perguntar-nos em skatehive discord e ver qual deles ajuda você mais rápido
Renomeie .env.example para .env
Renomeie .env.example e escolha a comunidade Hive da qual deseja obter/carregar conteúdo. Por exemplo, se você usar o hive-173115 você obterá o skatehive, se você usar o hive-141964 no campo comunitário você obterá o surfhive
.env.example
NEXT_PUBLIC_WEBSITE_URL=http://localhost:3000/ NEXT_PUBLIC_HIVE_COMMUNITY_TAG=xxxxxxxxxxx NEXT_PUBLIC_PINATA_API_KEY=xxxxxxxxxxxxxxxxxxxxxxxxxxxxxxxx NEXT_PUBLIC_PINATA_SECRET=xxxxxxxxxxxxxxxxxxxxxxxxxxxxxxxxxxxxxxxxxxxxxxxxxxxxx NEXT_PUBLIC_PINATA_GATEWAY_TOKEN=xxxxxxxxxxxxxxxxxxxxxxxxxxxxxxxxxxxxxxxxxxxxxx NEXT_PUBLIC_CRYPTO_SECRET=xxxxxxxxxxxxxxxxxxxxxxxxxxxxxxxxxxxxxxxxxxxxxxxxxxxxx NEXT_PUBLIC_OPENAI_API_KEY=xxxxxxxxxxxxxxxxxxxxxxxxxxxxxxxxxxxxxxxxxxxxxxxxxxxx NEXT_PUBLIC_ETHERSCAN_API=xxxxxxxxxxxxxxxxxxxxxxxxxxxxxxxxxxxxxxxxxxxxxxxxxxxxx
Agora execute o aplicativo que você acabou de instalar:
pnpm dev
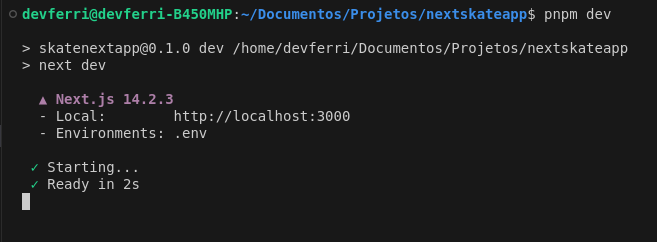
Agora abra https://localhost:5173 e você verá o mesmo aplicativo que https://skatehive.app

Isso significa que você está executando o aplicativo usando seu próprio computador como servidor através da porta 5173
Agora você pode tentar editar seu código em um editor de código, eu recomendo VSCode, mas meu Mestre Jedi recomenda JetBrains
Eu costumo usar o comando code. na pasta do terminal para abrir facilmente a pasta em que estamos trabalhando no VScode
Faça uma mudança boba, como mudar o rodapé.
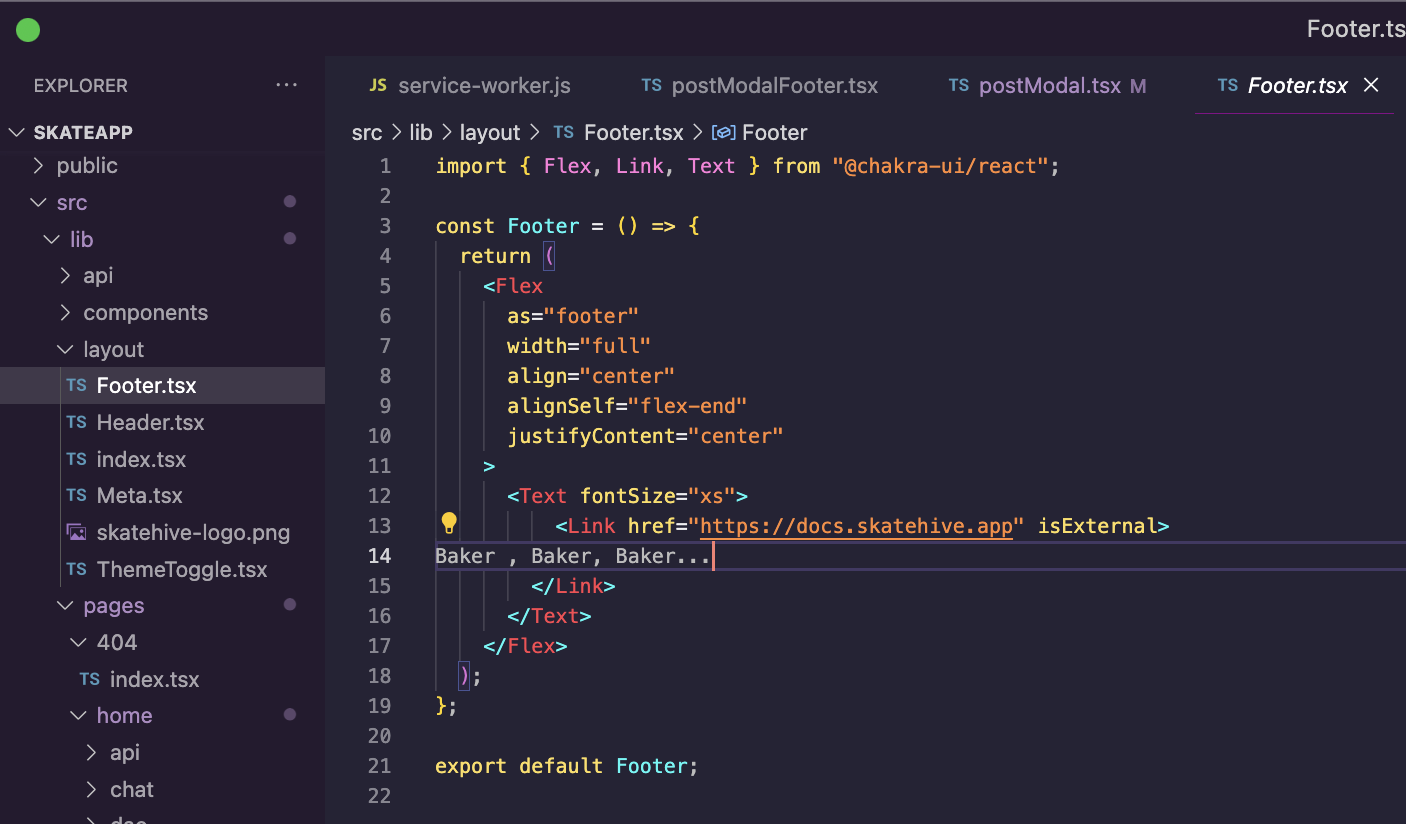
Este projeto é construído com TypeScript e incorpora Chakra UI para o frontend. Para tarefas relacionadas ao Hive, contamos com o Keychain SDK e as bibliotecas dive. Além disso, para facilitar as interações com Ethereum, Bitcoin e vários outros blockchains, aproveitamos os recursos do Pioneer-React.
Stage Changes:
git add .
Prepare suas alterações para um commit.
Commit Changes:
git commit -m "Changed header color".
Commit com uma mensagem
Push to GitHub:
git push origin main
Envie suas mudanças
Agora você pode acessar sua conta do github e verificar se ela foi atualizada
Colocando seu website online
Va para vercel.com
- Faça uma conta com sua conta do github
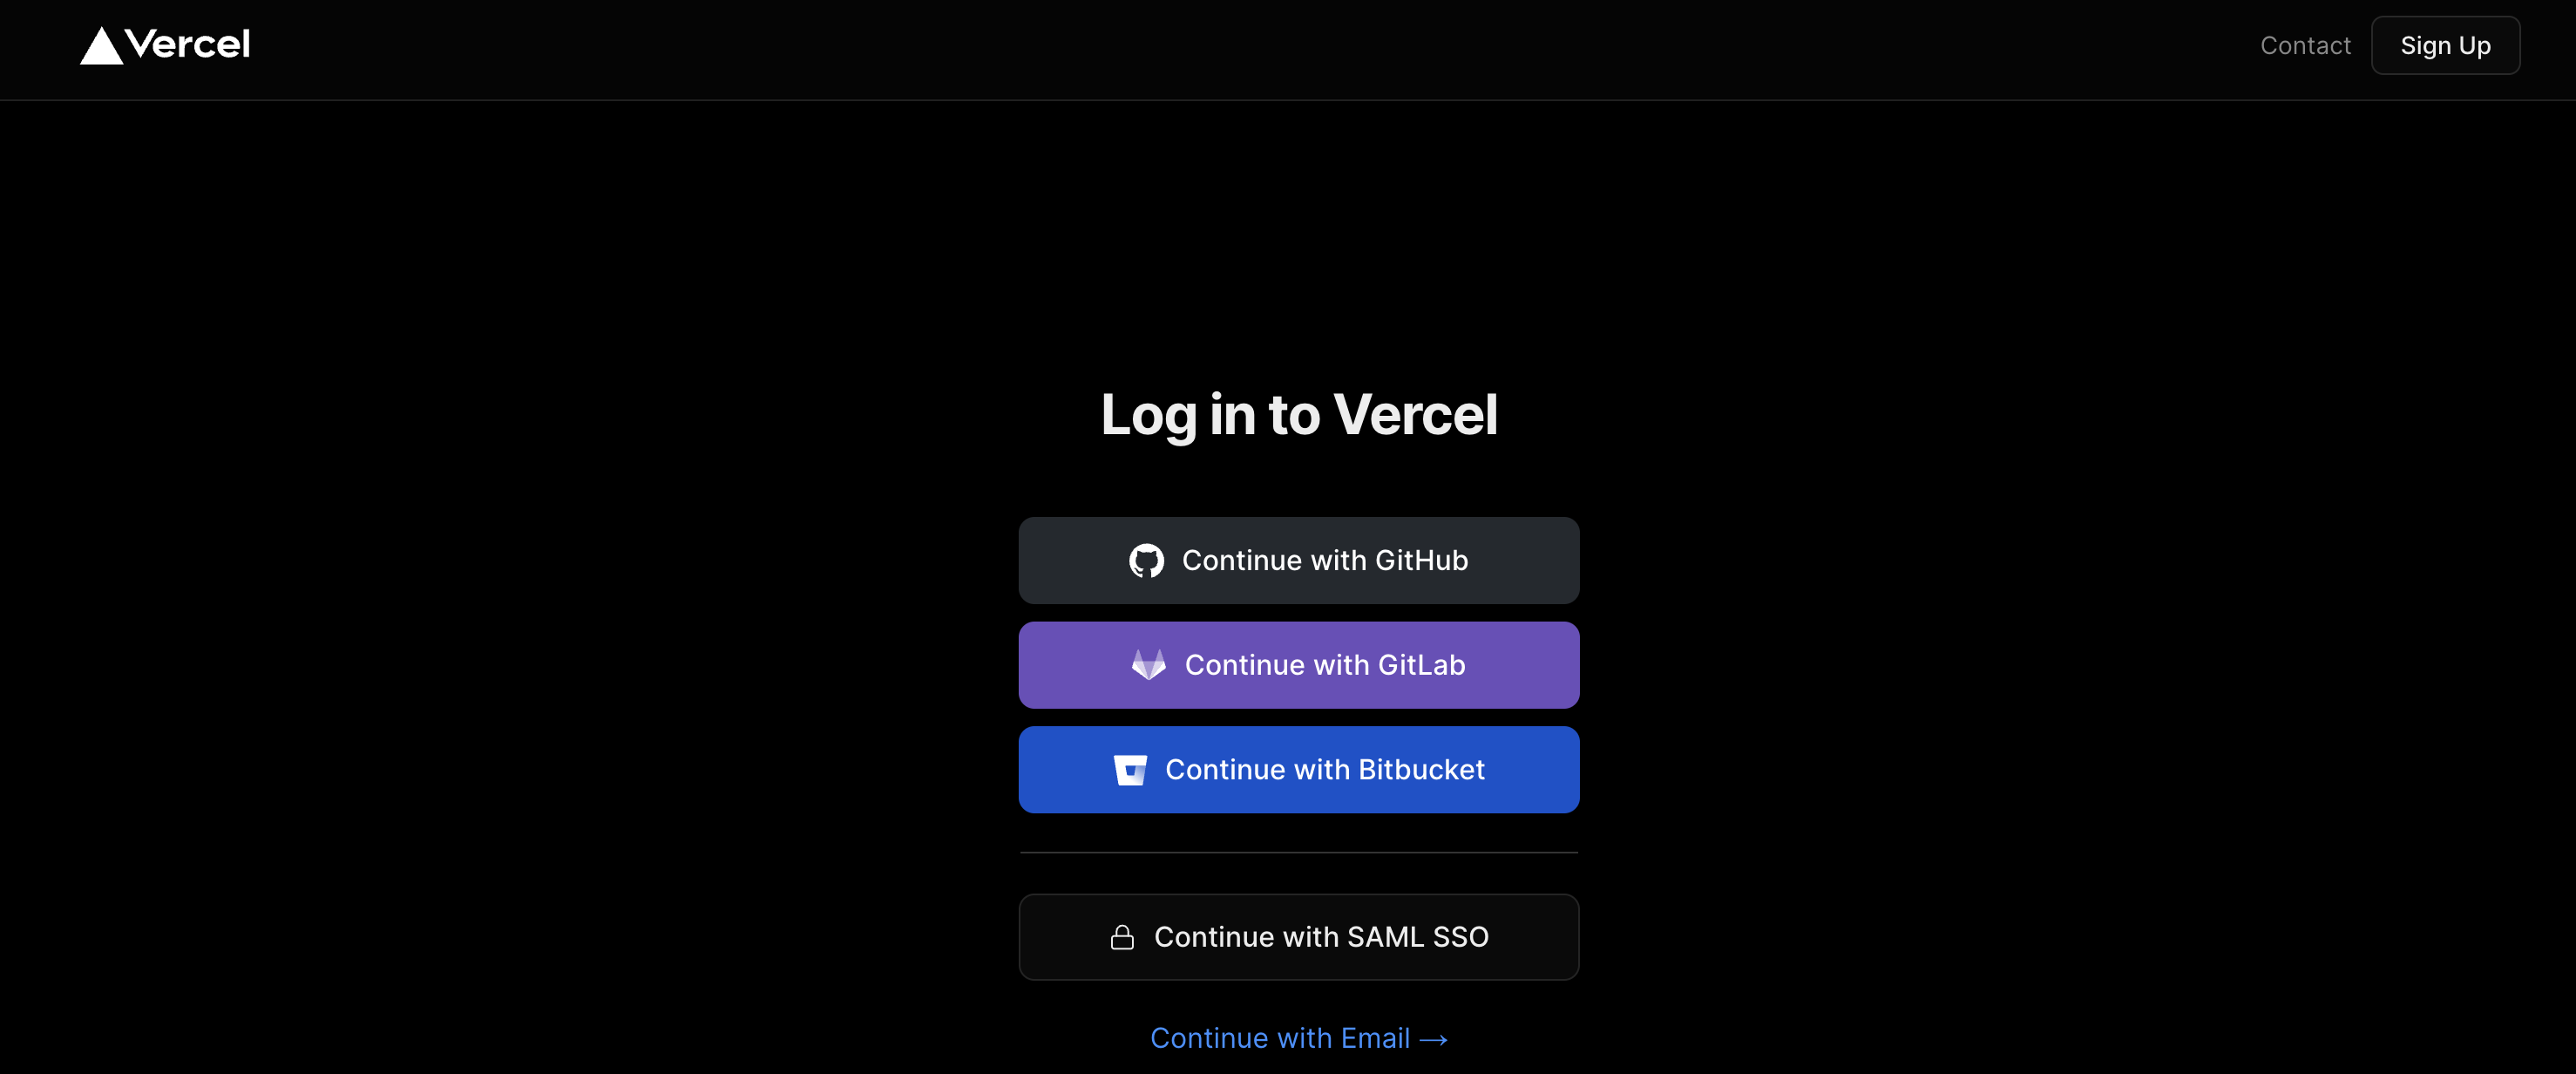
2.Instale a extensão Github
3. Selecione o repositório
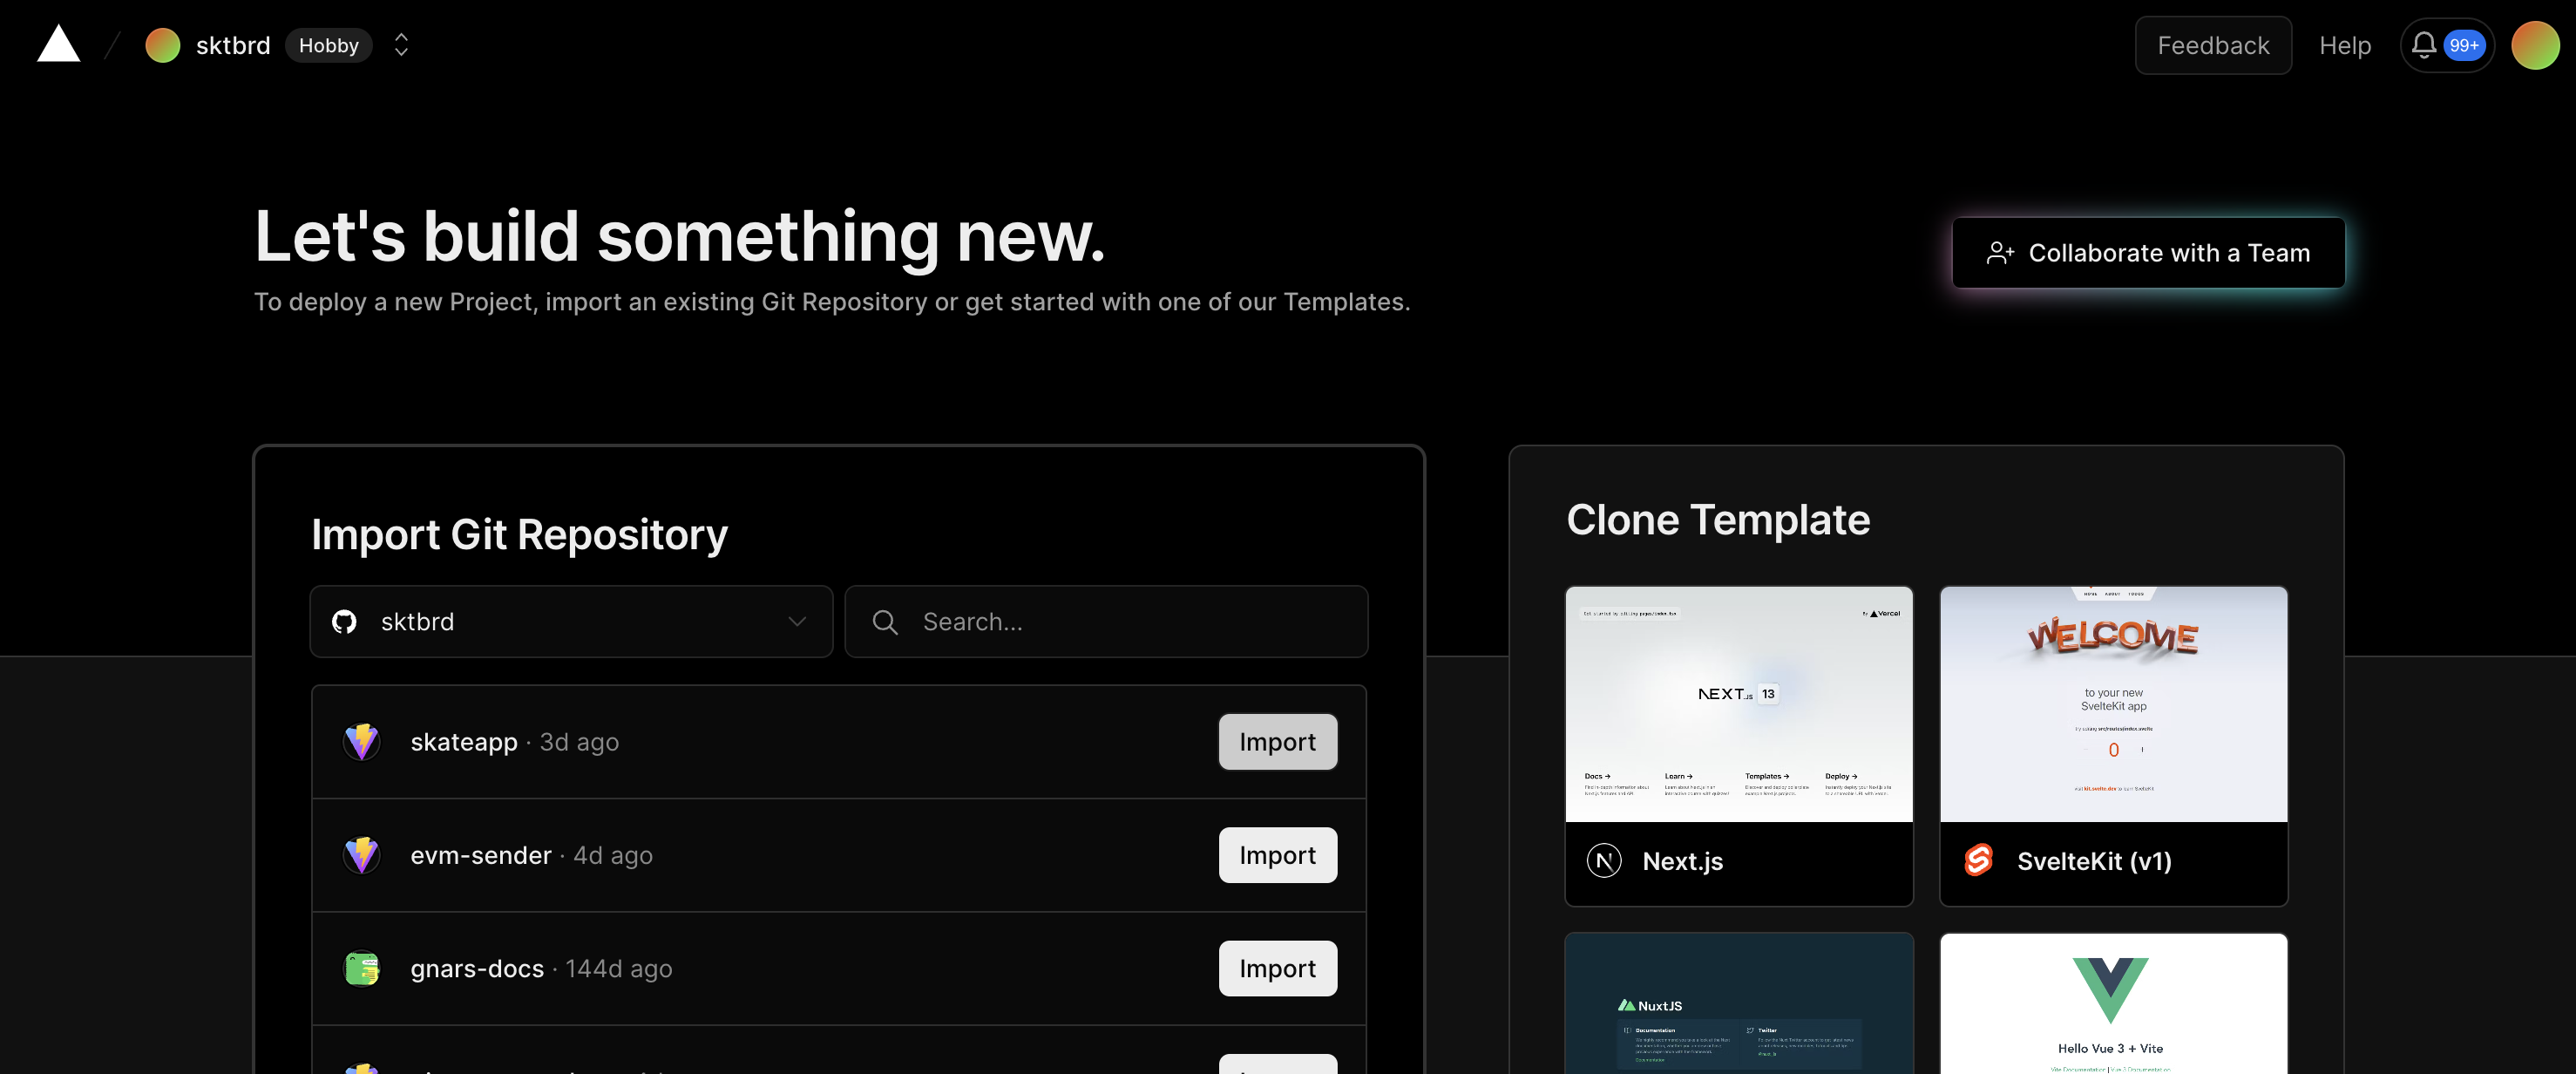
- Clique em Deploy
Você deverá ver algo assim:
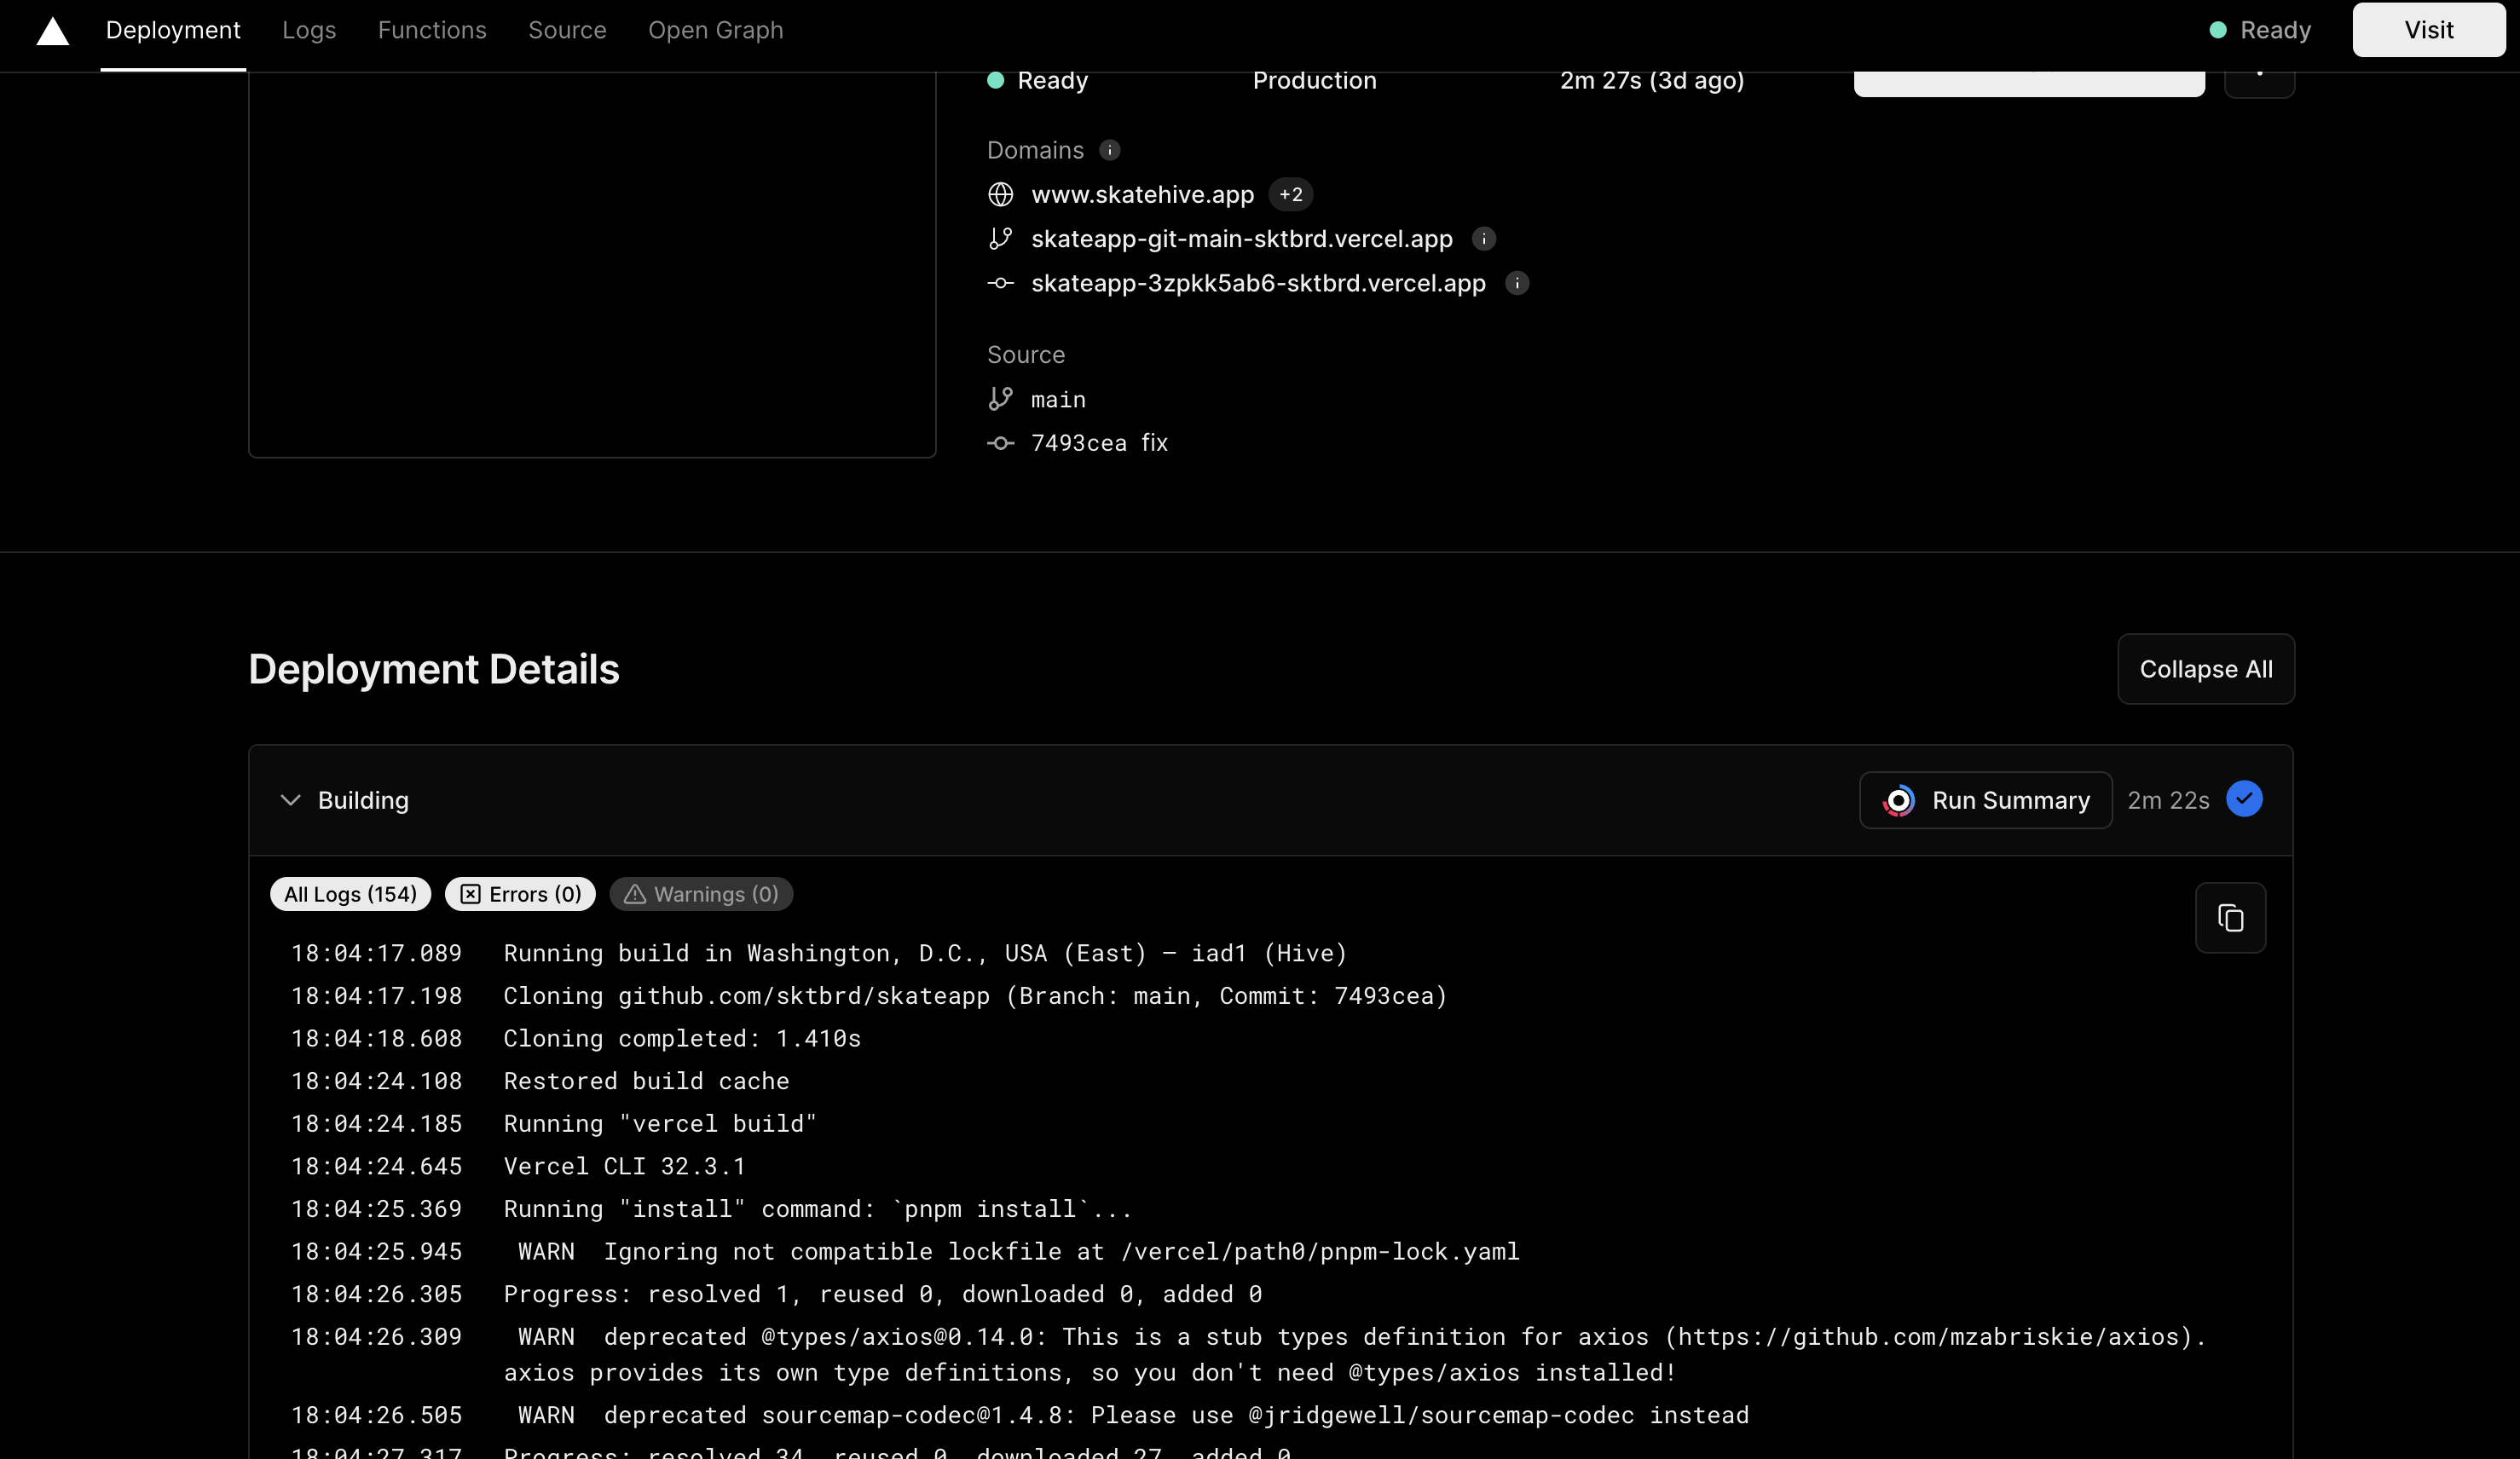
Você pode navegar agora para:
Veja sua própria comunidade Hive.